PremierePro ボイスオーバー(音声録音)する方法を紹介する。
Mac、Windowsごとに、マイクの入力設定する方法も合わせて紹介する。
目次
マイクの入力設定
OSごとに、マイクの入力設定を紹介する。
Mac
「システム環境設定」から「サウンド」を選択する。
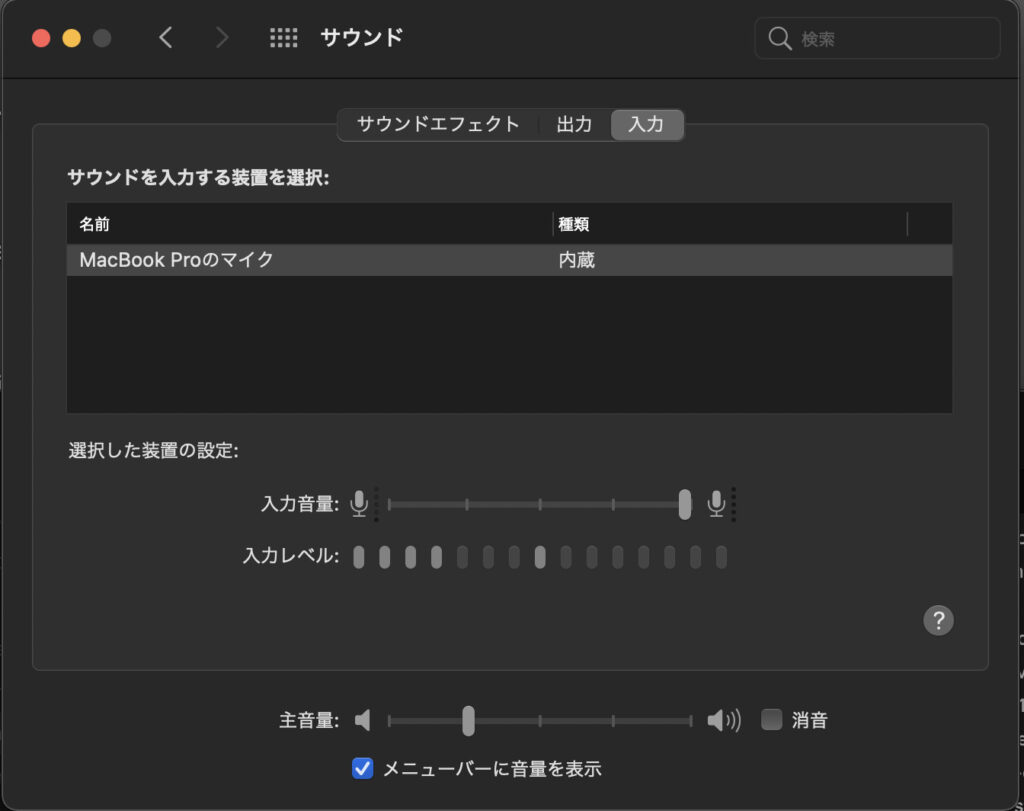
「入力デバイス」「入力音量」の設定 & 確認ができる。
Windows
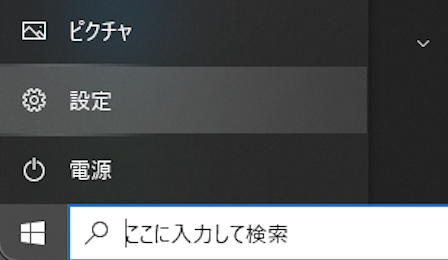
「設定」を開く。
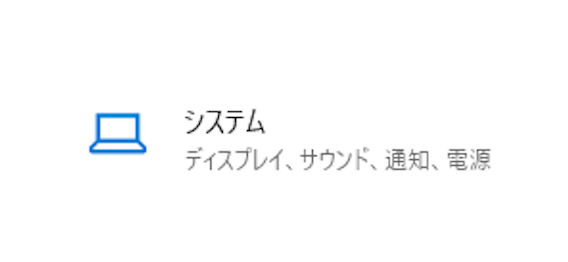
「システム」を選択する。
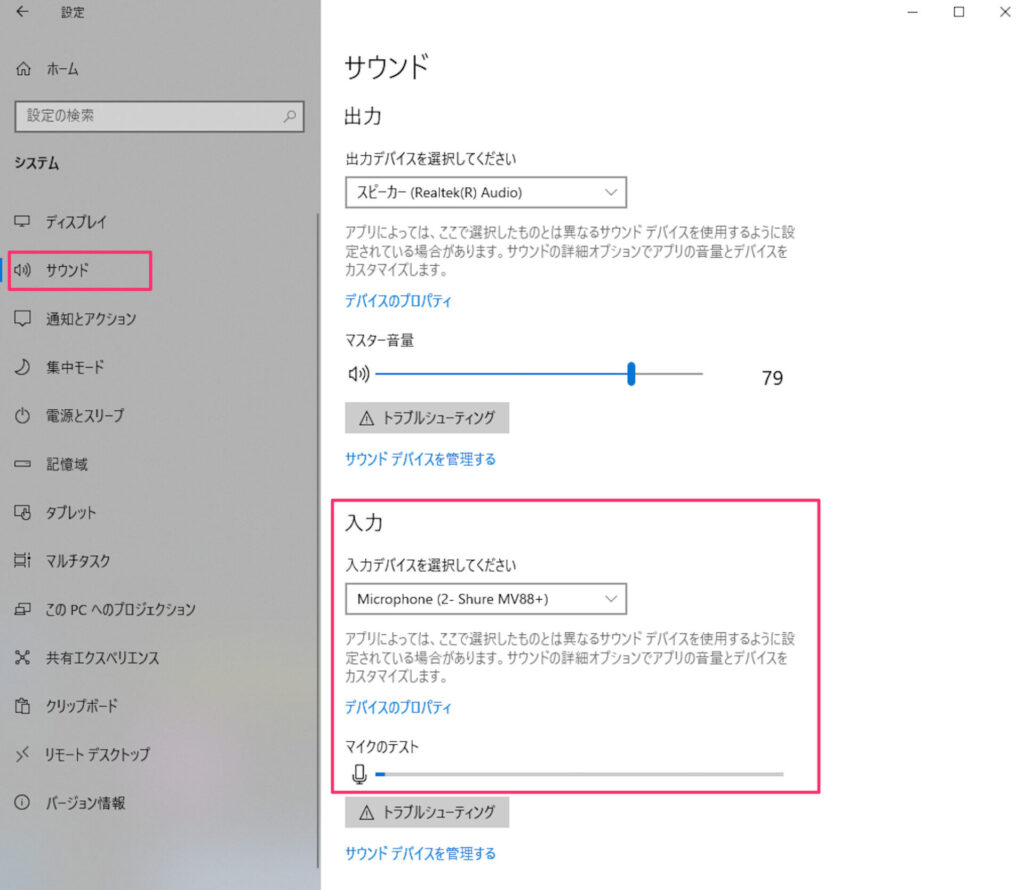
「入力デバイスの選択」と「マイクのテスト」ができる。
ボイスオーバー(音声録音)
PremiereProで音声録音する方法を紹介する。
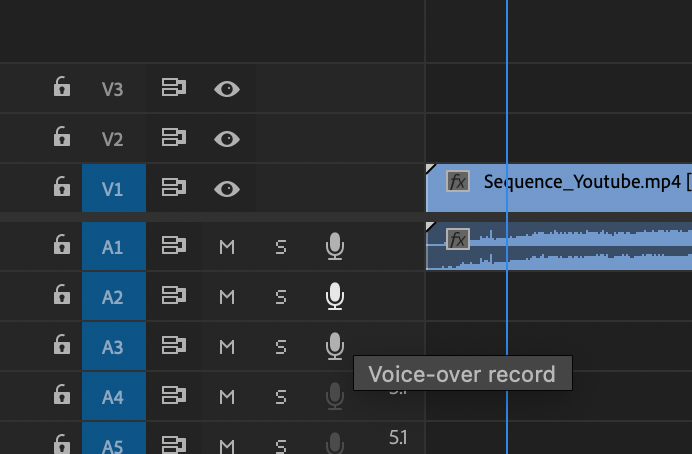
音声を入力したいトラックの「マイクアイコン」をクリックする。
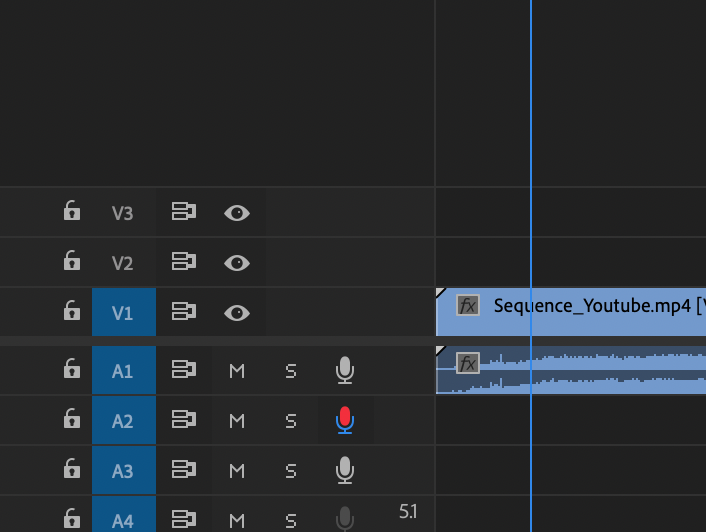
カウントダウン後、音声入力できる。
終了したい場合、再度マイクアイコンをクリック。
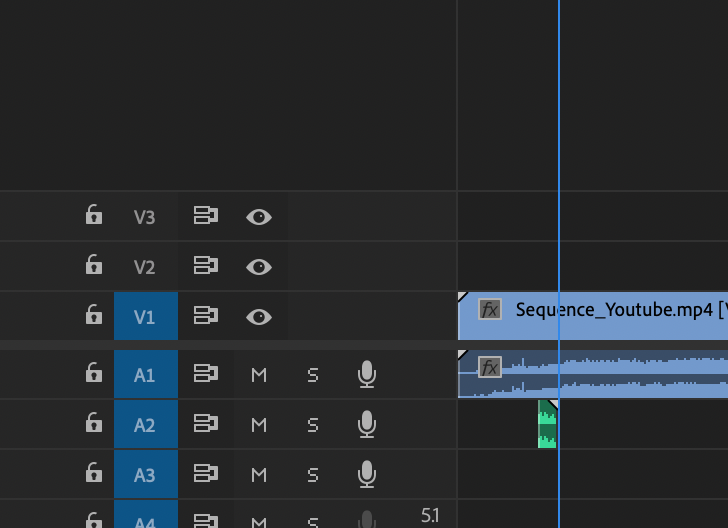
トラックに音声が追加された。
ボイスオーバーの設定
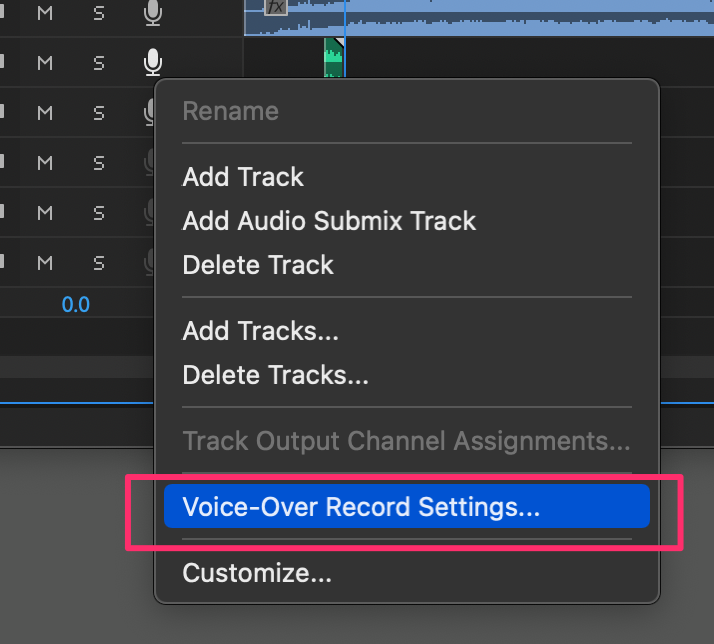
マイクアイコンを右クリックして、ボイスオーバーの設定をクリック。
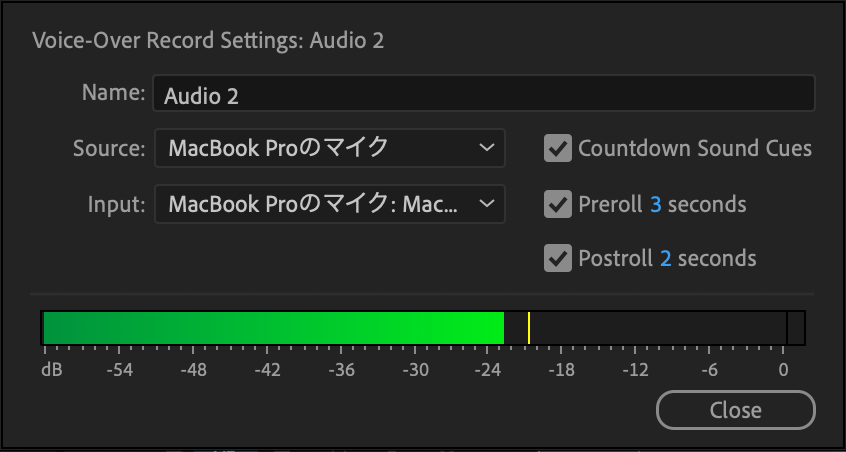
入力マイクの変更、カウントダウンの設定変更ができる。